Tools Introduction Class
Tools Feature & Advantage Introduction Class
Tools Operation and Application Class
Tools Maintanence and Repair Class
Tools Quality Checking and Certified Class
Tools Torque Introduction
Marketing Service Area
Member post
How to Make a Flare on Copper Tube: Flaring Tool Steps Explained
Popularity : 9In refrigeration, air conditioning, or related piping work, a copper tube fitting usually can′t just be tightened down as-is. If the tube end isn′t prepared correctly, you can end up with poor sealing, an unstable connection, or even issues that affect the quality of the whole job once it′s installed. That′s exactly why making a proper flare is such an important step in pipe installation.
And if you′ve ever found yourself wondering:
- What is a flare, exactly?
- What kind of work actually uses flaring?
- How do you actually operate a flaring tool?
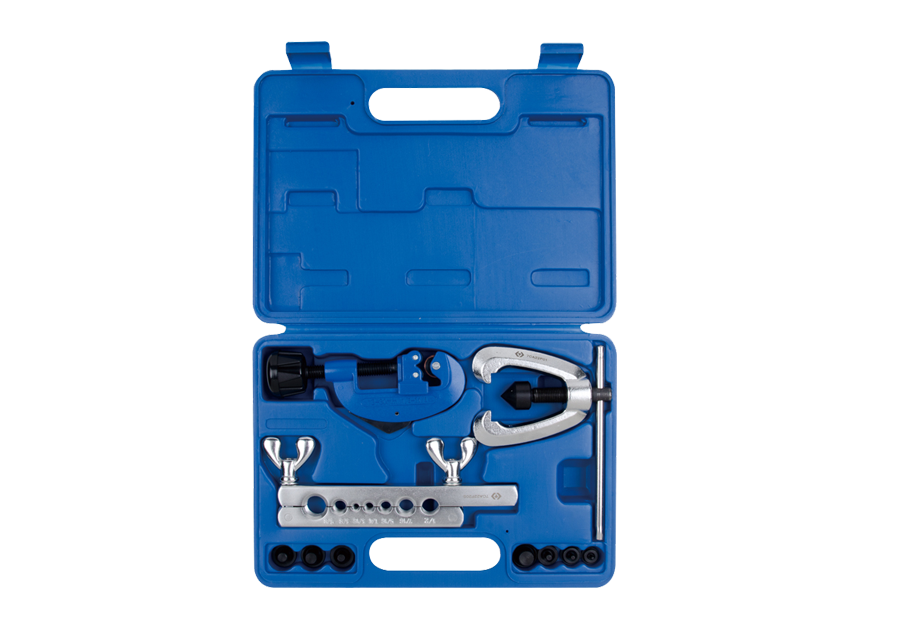
This article uses the KING TONY Flaring Tool Set 7CA0110S to walk you through it quickly.
1 | What Is a Flare, and What Work Uses It?
A flare is when the end of a tube is expanded outward with a tool into a cone shape, so the fitting that follows can seat against it more securely when tightened down.
This kind of tube-end work commonly shows up in:
- Refrigeration systems
- Air conditioning installation
- Pipe repair
- Copper tube joints
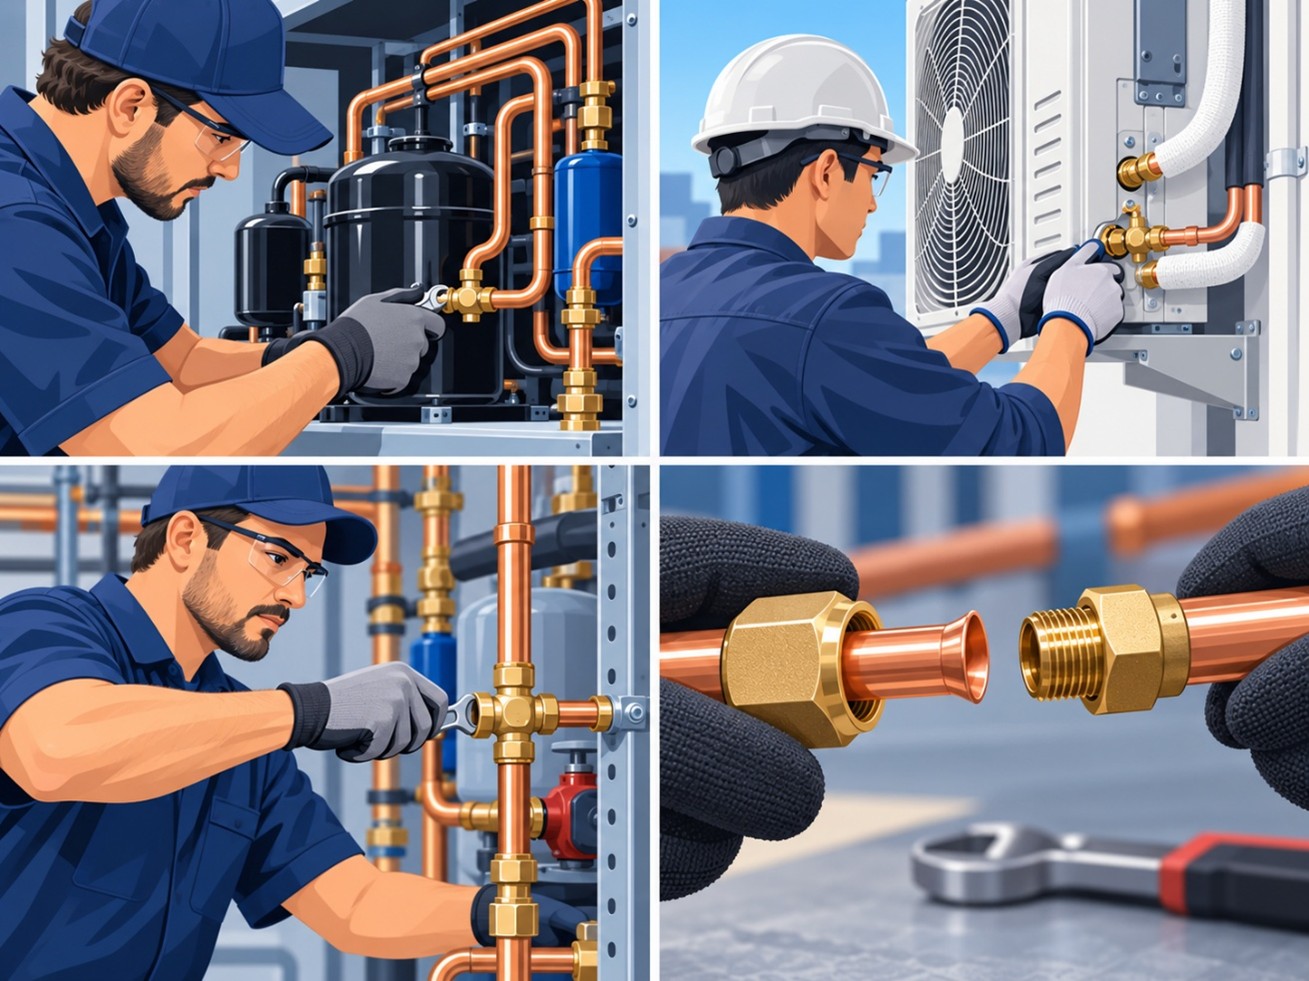
Where flaring gets used
So flaring isn′t just about "opening up" the end of a tube. Everything from the tube size, to where it′s clamped, to how it finally forms, affects the piping connection that follows. In practice, you′d normally cut the tube to the length you need, clamp it at the matching size, then use the flaring tool to form the flare step by step.
2 | 3 Things to Check Before Using a Flaring Tool
Before you actually start flaring, there are a few things worth confirming first.
① Check the tube diameter, pick the right hole
The flaring block has holes sized for different tube diameters. Pick the wrong hole and you′ll either fail to clamp it tightly — letting the tube slip under force — or crush the tube wall. Confirm the tube size before you start, then choose the matching hole.
② Keep the cut square, clean off the burr
A crooked cut or leftover burr means the flared cone won′t come out even, which makes it more likely to leak through the gap once it′s tightened down. Deburr the tube right after cutting it, and keep the tube end pointed downward while you do it so copper shavings don′t fall inside.
③ Slide the flare nut on before you flare
This is the most common — and most painful — mistake to make. Once a flare is formed, its outer diameter is bigger than the nut′s bore, so the nut can′t go on anymore and you′ll have to cut it off and start over. Watch the orientation when you slide it on: the threaded end should face the tube opening.
Nut on first, then flare.
3 | How to Use a Flaring Tool: 4 Steps
Step 1 | Cut: Cut the Copper Tube to Length
Place the copper tube in the tube cutter and line up the cutting wheel with the cut point. Turn it one or two full rotations, then tighten the feed just a little — don′t crank it down all at once, or the tube end will get crushed out of round. After cutting, deburr the tube and slide the flare nut onto it.
Step 2 | Clamp: Pick the Right Hole, Set the Right Height
Place the copper tube into the matching-size hole on the flaring block, then adjust how much of the tube end protrudes above the block. Too much, and it′s easy to over-flare or even crack it; too little, and the flare won′t be big enough, leaving too small a sealing surface.
Once the height is set, clamp the flaring block down firmly so the tube doesn′t shift while you′re applying force.
Step 3 | Flare: Center the Cone, Turn the Handle Steadily
Mount the flaring tool body onto the flaring block, center the cone on the tube opening, then turn the handle clockwise so the cone presses down gradually. Before flaring, a thin coat of refrigeration oil on the cone cuts down friction and gives you a smoother cone surface.
Keep steady, even pressure as you turn, and stop once the cone has formed and resistance noticeably increases. Pressing too far thins out the tube wall and can even crack it.
Center it → apply steady force → stop once it′s formed.
Step 4 | Check: Remove the Tube and Confirm the Flare
Back the flaring tool off, release the flaring block, and remove the tube. Check for the following:
- Is the cone surface smooth, with no scratches or dents?
- Is the edge even all the way around, with no cracks?
- Is the size right? Slide the nut back up against it — the flare should seat flush against the nut′s internal cone, neither binding nor sitting too small.
Don′t force a bad flare into service — cutting it off and redoing it is actually the faster fix.
Conclusion: Flaring Isn′t Just About Opening Up the Tube End
A flaring tool might look like it involves a lot of steps, but broken down, the basic process is actually pretty clear:
Cut → clamp → flare → check.
What actually matters isn′t just making the tube opening bigger — it′s confirming the tube size and the condition of the tube end before you even start, then lining the tool up correctly once it′s clamped. Get every one of those steps right, and the piping connection that follows will go a lot more smoothly.
Learn the tool. Enjoy the work.
Full Demonstration Video
Want to see the complete process in action? Watch here:
7CA0110S Flaring Tool Set Demonstration
FAQ | Flaring Tool
Q1: Why does a flare crack after flaring?
Common causes include too much tube protruding above the block, applying too much force while flaring, a burred or uneven cut, or tubing that′s too hard and lacks enough ductility. Most A/C line sets use soft copper tube, so it′s worth confirming the tube is actually suited to flaring before you start.
Q2: I forgot to slide the nut on before flaring — now what?
A flare′s outer diameter is bigger than the nut′s bore, so you can′t slide the nut back on from the tube end. The only fix is to cut the flare off, slide the nut on, and flare it again.
Q3: Do I need to oil the tool while flaring?
A thin coat of refrigeration oil on the cone is recommended — it cuts down friction and gives a smoother cone surface. For refrigerant systems, use an oil that′s compatible with that system.
Q4: What′s a double flare, and how is it different from a regular flare?
A double flare folds the tube end inward into two layers first, then flares it into a cone — doubling the wall thickness at the opening for better pressure and vibration resistance. The 7CA0110S comes with double-flare adapters in 7 sizes: use the adapter to form the first fold, then finish the flare with the cone.
Q5: Can you flare aluminum tube too?
Yes. The 7CA0110S works on aluminum tube up to 1 mm wall thickness; beyond that, this tool isn′t recommended for the job.